Unlock the Secret to Shop-Quality Donuts: The Ultimate Donut Glaze Recipe
There’s something truly magical about a perfectly glazed donut. That first bite, the delicate crackle of a smooth, glossy coating giving way to a soft, pillowy interior – it’s an experience that transports you straight to your favorite donut shop. But what if we told you that achieving that professional-level smoothness and irresistible shine is not only possible at home but surprisingly simple? With the right donut glaze recipe, you can transform your homemade donuts from good to absolutely glorious. Forget gritty textures or dull finishes. This comprehensive guide will walk you through the art and science of crafting a spectacular donut glaze that rivals any bakery. We’ll cover the essential ingredients, mastering consistency, exploring exciting flavor variations, and the precise techniques for that picture-perfect gloss. Get ready to crown your homemade donut masterpieces with the ultimate sweet finish!The Foundation: Your Go-To 3-Ingredient Donut Glaze Recipe
At its heart, a classic donut glaze is an exercise in elegant simplicity. You don't need a pantry full of obscure ingredients to create something extraordinary. Our base recipe relies on just three fundamental components, coming together in less than two minutes to form the perfect dipping consistency. This foundational donut glaze recipe is your blank canvas for endless flavor exploration. What You'll Need:- 1 ½ cups powdered sugar (confectioners’ sugar)
- 2-3 tablespoons milk (whole milk is preferred for richness, but any milk works)
- 2 teaspoons vanilla extract (for that quintessential sweet aroma and flavor)
- Combine Ingredients: In a medium bowl, add the powdered sugar, 2 tablespoons of milk, and the vanilla extract.
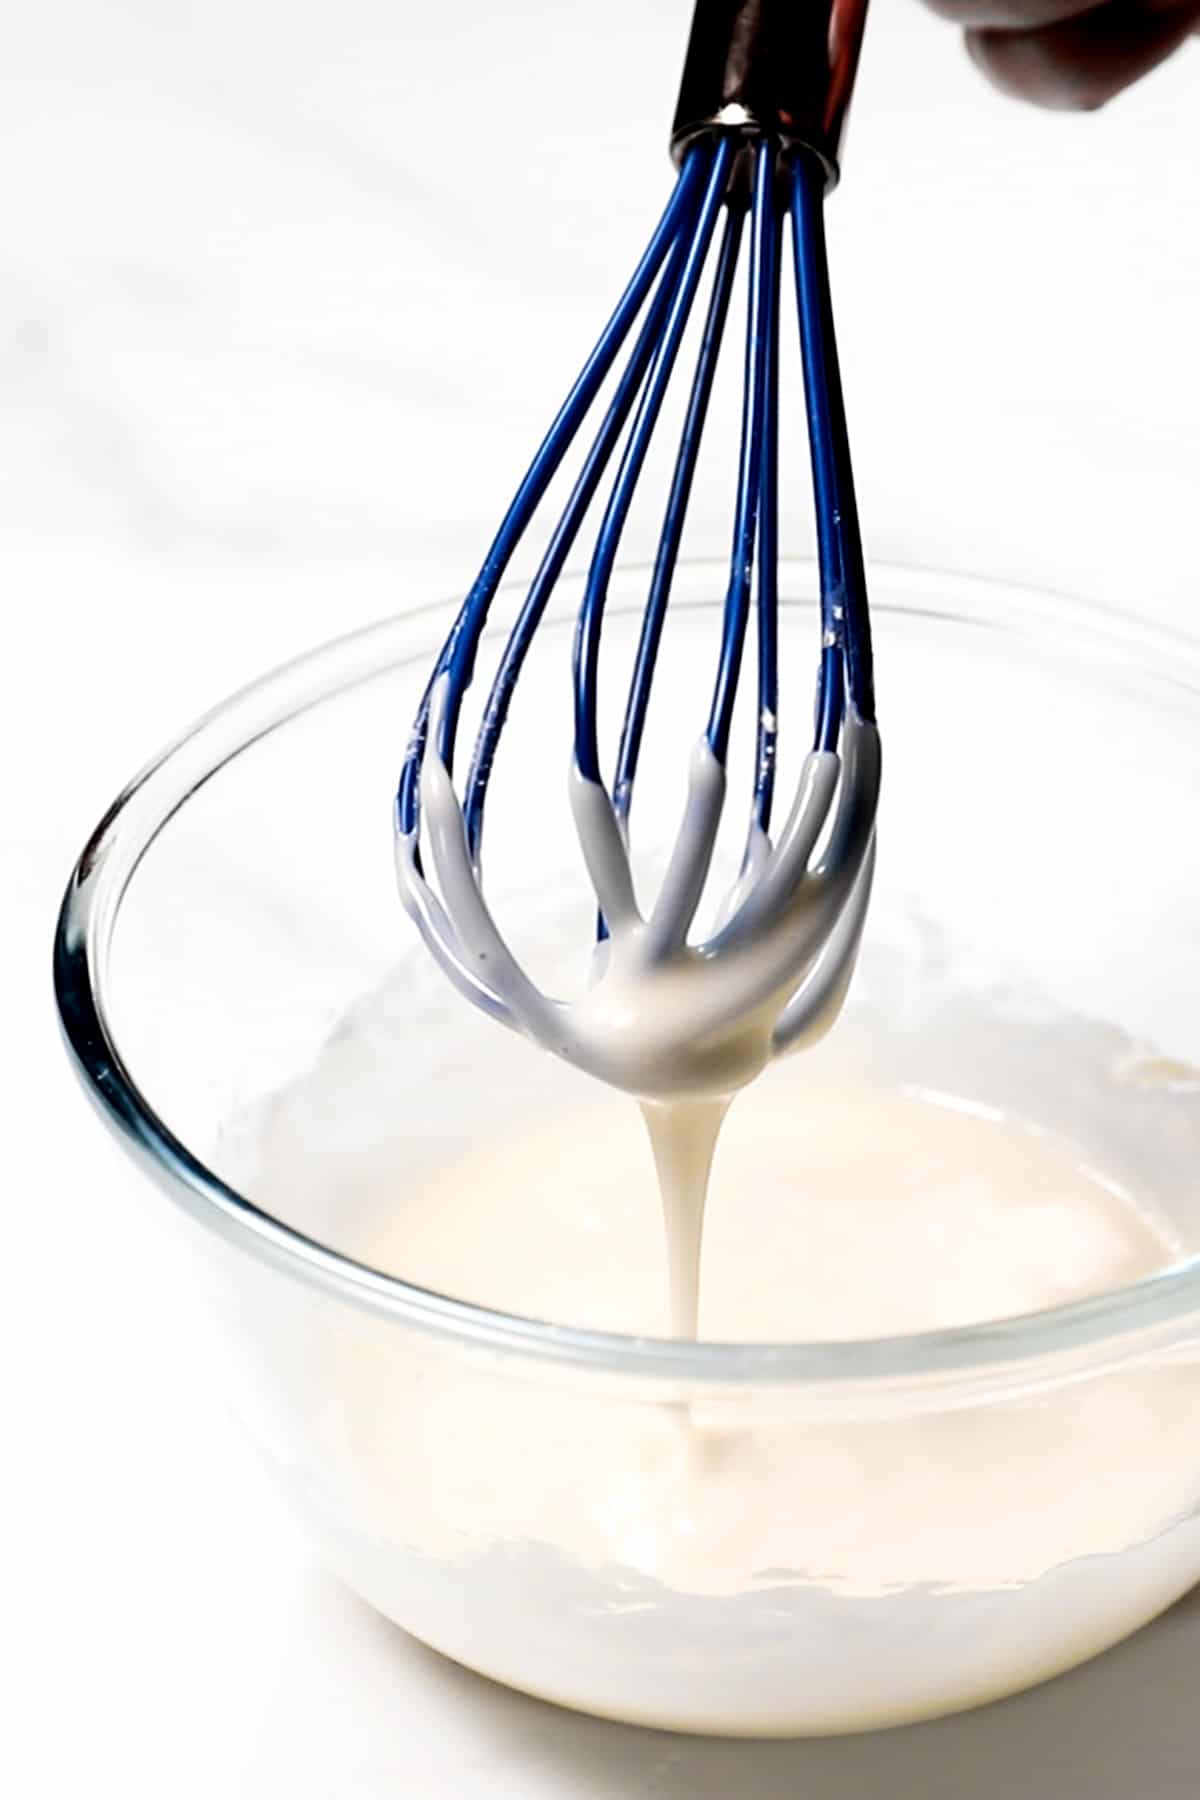
- Whisk Until Smooth: Using a whisk, stir vigorously until all ingredients are thoroughly combined and the mixture is silky smooth. There should be no lumps.
- Adjust Consistency (if needed): If your glaze appears too thick, add the remaining tablespoon of milk, half a teaspoon at a time, until your desired consistency is reached. If it's too thin, whisk in an additional tablespoon or two of powdered sugar.
Mastering Consistency and Texture for That Shop-Quality Finish
The secret to a truly outstanding donut glaze lies not just in its flavor, but crucially, in its consistency and texture. A perfect glaze should be smooth, free of grit, and adhere beautifully to the donut, setting into a firm yet delicate shell. This is where the "art and science" truly come into play.The Role of Powdered Sugar
Powdered sugar (also known as confectioners' sugar) is the undisputed star of any classic donut glaze. Its incredibly fine texture is what dissolves readily into liquid, creating that signature smooth, velvety consistency we all crave. Unlike granulated sugar, which would result in a gritty glaze, powdered sugar ensures a seamless finish.
- Sifting is Key: To guarantee absolute smoothness and prevent any unwelcome lumps, always sift your powdered sugar before mixing. Even sugar from a freshly opened bag can have small clumps that will mar your glaze's texture.
- Sweetness and Structure: Beyond smoothness, powdered sugar provides the primary sweetness and gives the glaze its structural integrity once set.
Achieving the Perfect Flow
The ideal consistency is crucial for proper adhesion and that gorgeous, even coating. Think of it this way: your glaze should be thick enough to cling to the donut but thin enough to drip off excess easily. It should coat the back of a spoon and fall in a steady ribbon, not chunky drops.
- Too Thick: If your glaze is too thick, it will be gloopy, hard to dip, and might pull off chunks of your donut. It also won't set as evenly or look as glossy. Gradually whisk in more liquid (milk, water, or even a touch of cream) a teaspoon at a time until it reaches the desired flow.
- Too Thin: A glaze that's too thin will simply run off the donut, leaving a translucent, barely-there coating. To thicken it up, slowly whisk in more sifted powdered sugar, a tablespoon at a time, until you achieve the right consistency.
Unleash Your Creativity: Exciting Donut Glaze Flavor Variations
- Chocolate Glaze: Transform your basic glaze into a rich chocolate dream. Whisk in ¼ cup unsweetened cocoa powder and an additional 1 tablespoon of milk. Adjust milk quantity for desired thickness. Pairing Idea: Perfect on vanilla bean, plain, or even coffee-flavored donuts. Garnish with mini chocolate chips or chocolate sprinkles.
- Maple Glaze: Bring warmth and sweetness with this autumnal favorite. Replace 1-2 tablespoons of the milk with ¼ cup pure maple syrup, adding more to taste. Adjust consistency with milk or powdered sugar. Pairing Idea: Incredible on apple cider donuts, pumpkin donuts, or even a classic yeast donut. A sprinkle of bacon bits can add a savory crunch!
- Pumpkin Spice Glaze: Embrace the flavors of fall. Add 1 teaspoon pumpkin pie spice to the base recipe. Pairing Idea: A must-try on homemade pumpkin donuts or even plain cake donuts. A dusting of cinnamon enhances the aroma.
- Zesty Lemon Glaze: For a bright, tangy kick. Add 1 teaspoon lemon extract (and optionally, 1-2 teaspoons fresh lemon juice) to the base. Adjust to your preferred level of tartness. Pairing Idea: Fantastic on blueberry, poppy seed, or simple raised donuts. A little lemon zest sprinkled on top adds visual appeal and extra flavor.
- Vibrant Orange Glaze: A refreshing citrus twist. Incorporate 1 teaspoon orange extract (and optionally, 1-2 teaspoons fresh orange juice) into the basic glaze. Pairing Idea: Delicious on cranberry or spice donuts. Consider a sprinkle of finely grated orange zest.
- Funfetti Glaze: Make every donut a celebration! Simply add a few drops of food coloring (pink, blue, or rainbow!) to your vanilla glaze, then fold in a generous amount of rainbow sprinkles before dipping. Pairing Idea: Funfetti glaze turns any plain donut into a party favorite.
Achieving That Perfect Finish: Dipping and Setting Techniques
You've perfected your glaze's consistency and flavor – now for the grand finale: applying it to your donuts! The technique you use for dipping and setting is just as important as the glaze recipe itself for achieving that coveted smooth and glossy finish.- The Ideal Donut Temperature: For best results, your donuts should be slightly warm, but not piping hot. Warm donuts absorb a thin, even layer of glaze beautifully, and the residual heat helps the glaze set quickly and achieve maximum gloss. If they're too hot, the glaze might melt and run off. If they're completely cold, the glaze might not adhere as well.
- The Dipping Method:
- Hold a donut by its edge or with two fingers, gently submerging one side into the glaze.
- Twist it slightly to ensure even coverage.
- Lift the donut out, letting any excess glaze drip back into the bowl for a few seconds.
- Flip the donut over, glazed side up.
- Double Dipping for Extra Gloss and Thickness: For an extra thick, opaque, and incredibly glossy layer of glaze (that true donut shop look!), allow the first layer to set for about 30 seconds to a minute on a wire rack. Then, dip the donut a second time following the same method. This creates a luxurious, double-layered coating.
- The Essential Wire Rack: This step is non-negotiable for professional-looking donuts!
- Immediately after dipping, place your glazed donuts on a wire rack set over a baking sheet or parchment paper.
- The wire rack allows air to circulate around the entire donut, helping the glaze to set evenly and preventing soggy bottoms.
- The baking sheet below catches any drips, making cleanup a breeze.
- Setting and Hardening: Allow your glazed donuts to sit undisturbed on the wire rack for at least 15-30 minutes (or longer, depending on humidity) to allow the glaze to fully set and harden. This is what creates that satisfying slight crunch when you bite into it.
